
We love homemade pizza around these parts. It has several fabulous things going for it:
- Better tasting than it's store-bought counterpart.
- Better FOR YOU than the store-bought counterpart.
- The dough can be made ahead of time, frozen, and then thawed on the day you want to bake it.
- The ingredients are simple and frugal!
I started having real success with making homemade pizza after I read this tutorial for making pizzeria quality pizza at home. Prior to that, my crusts had always been slightly dough-y in the center with a lingering taste of yeast. No more, my friends, no more.
I've had some questions from readers about the pizza dough making process, so I'm going to give it to you step-by-step, until we arrive at the finished product. Are you ready?
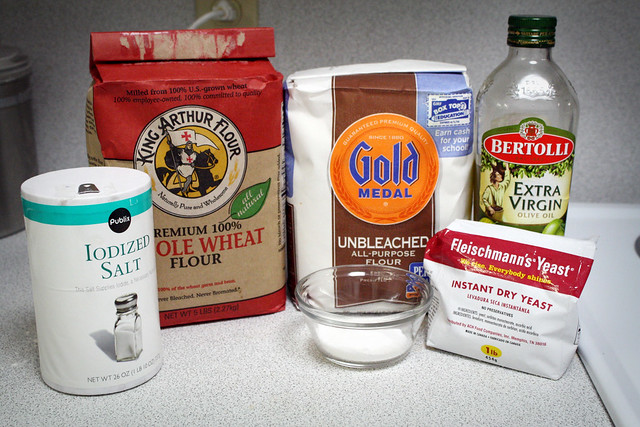
Here's what you'll need. Flour (I use a combo of unbleached all-purpose with a little bit of wheat thrown in), yeast, sugar, salt, and olive oil.
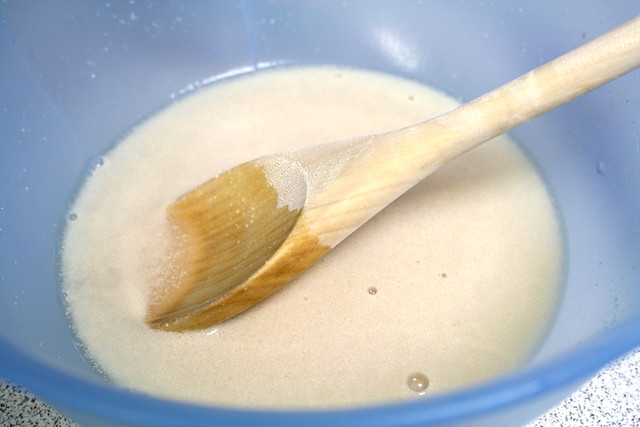
First, mix your warm water (around 110-115 degrees) with the yeast and sugar. Stir together until yeast is dissolved. ButterYum says to wait 5 minutes to "proof" your yeast (which means you wait to see if it becomes bubbly), but I always skip that part, trusting that my yeast is good. I store my yeast in the freezer, and it really takes quite a while for yeast to go bad! Anyway, that's just me...
Now, I'm going to demonstrate how to make this recipe using a stand-mixer, but if you don't have a stand mixer, you really can do this by hand! I did that for over a year with good results.
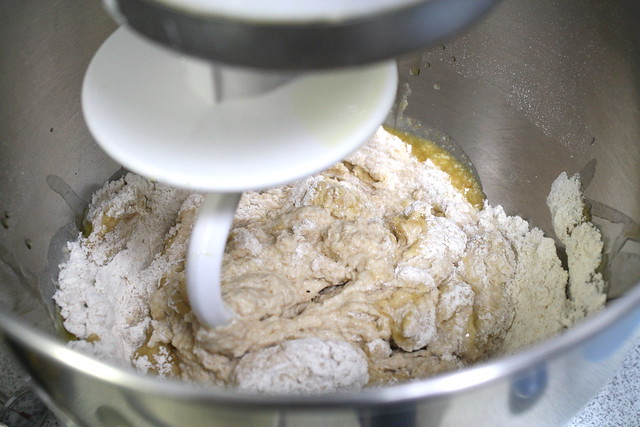
Next, throw the dry ingredients together in your mixer, and using the dough hook on your mixer, add in the yeast mixture and the olive oil. Mix on low until the flour is incorporated.
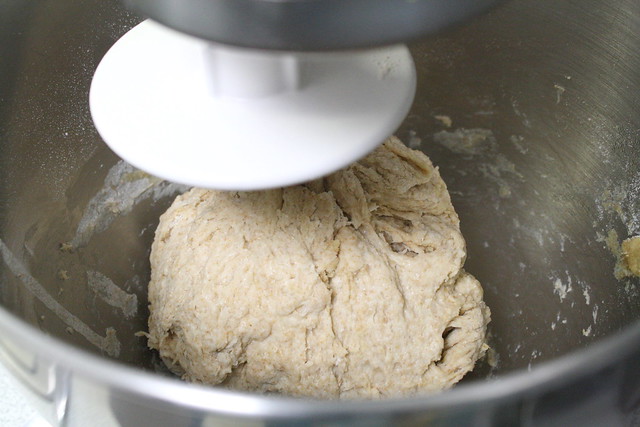
Then increase your speed to 2 and knead for around 5 minutes.
OR, if you're not using a mixer, you can knead it by hand on a floured work surface. The original recipe says to knead by hand for 10-15 minutes, but I've never done that (not even once!). 4-5 minutes of vigorous kneading seems to do the trick. The dough will have a slightly tough feel to it. Very unlike soft biscuit dough, which should never be over-handled!
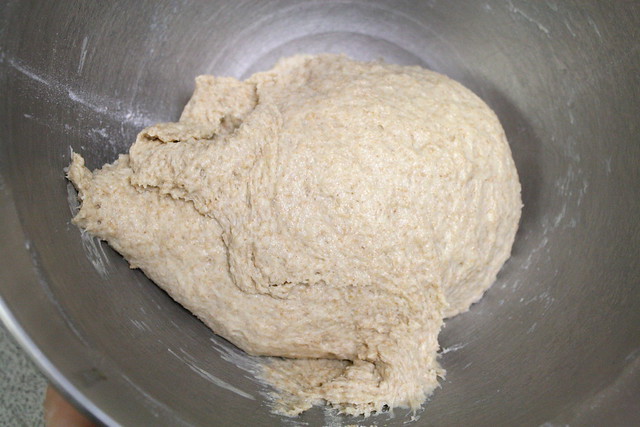
I do find that I prefer to use the mixer because 1) it's easier and less clean-up and 2) since you don't have to add any extra flour for kneading, the dough is less tough and comes out a bit softer. Here's the dough after kneading (at this point, you can store the dough in a freezer bag and freeze for later use! When you want to use it, pull it out in the morning and let it thaw. As it thaws, it will also rise):
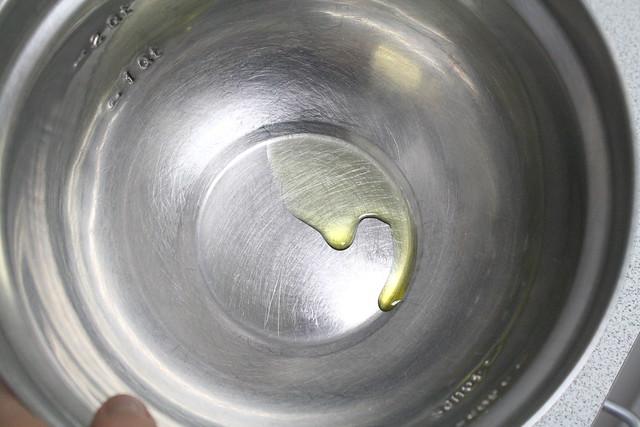
Next, oil a bowl with olive oil and plop the dough into it.
Turn the dough over, so the entire surface is oiled.
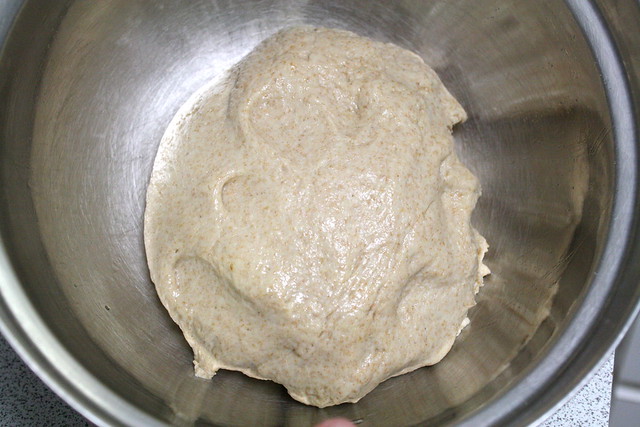
Then cover it with a dishtowel and let it rise until it is doubled in size (normally takes around an hour for me).Halfway through the rising time, preheat your oven to 475 degrees and place your (preferably stoneware) pizza pan in the oven to get nice and hot.
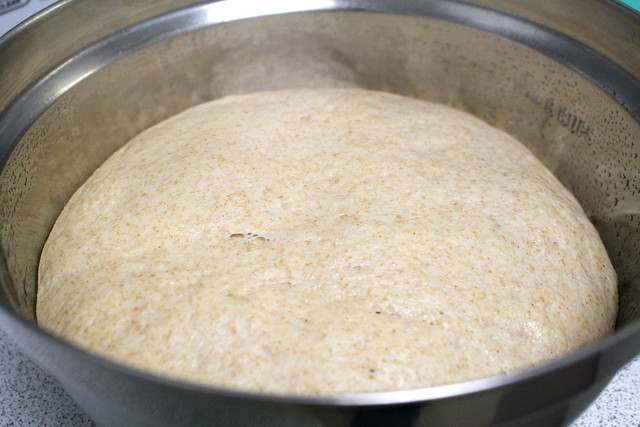
Oh look! Lovely risen dough!
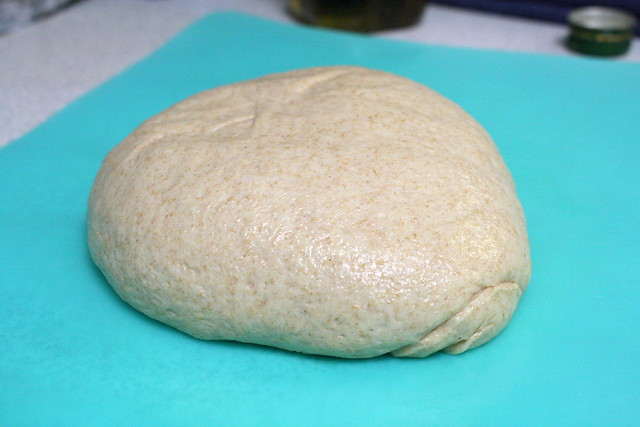
At this point I place the risen dough (I reshape it just a bit into a ball) on an oiled plastic mat. If you have parchment paper, that's even better.
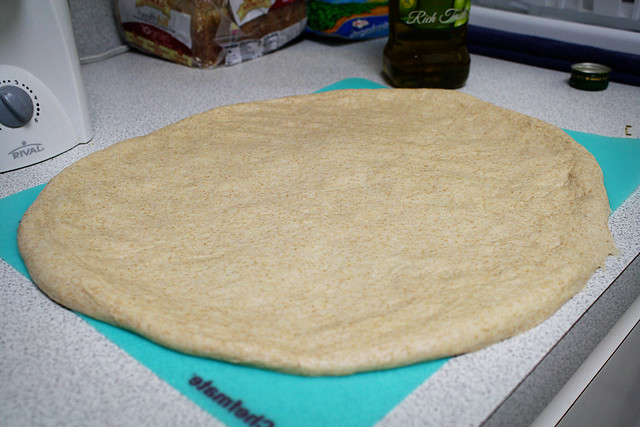 g
gSpread the dough out using your fingers, leaving as much crust as you prefer. This time I had doubled the recipe (a doubled recipe makes a LARGE pizza!) and as you can see it didn't quite fit on my mat.
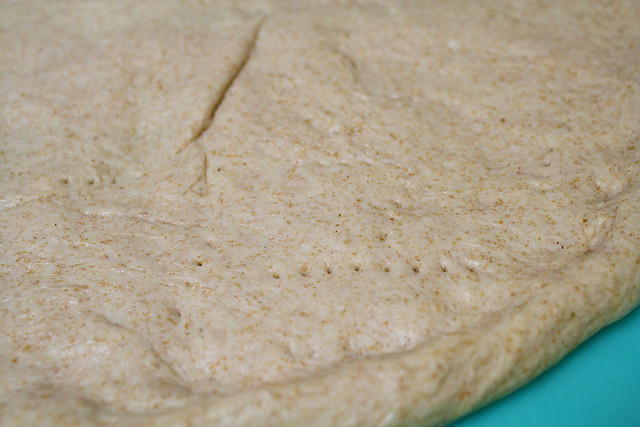
Then poke holes in the dough all over using a fork. This is called "docking" the dough, and it prevents it from bubbling up too much as it cooks.
Next, pull your piping hot pizza pan out of the oven and transfer your crust onto it. If you're using parchment paper, easy-peasy, because you can just set it on top, paper and all. Since my doubled-recipe crust was so big, I simply flipped it upside down onto the pan. You'll hear a nice hissing sound...the beginnings of your soft yet crispy-bottomed crust!
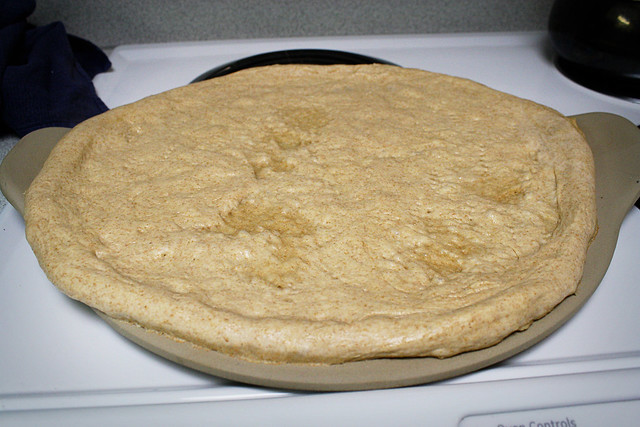
I am using the large pampered chep pizza pan here (a wonderful gift from my mother-in-law!). I LOVE this pan. See the spots that are a bit darker brown? Those are the spots that were very thin in my crust--since the pan is so hot they were already starting to cook!
Place your crust in the oven and cook for 6-7 minutes. While it cooks, get your toppings ready.
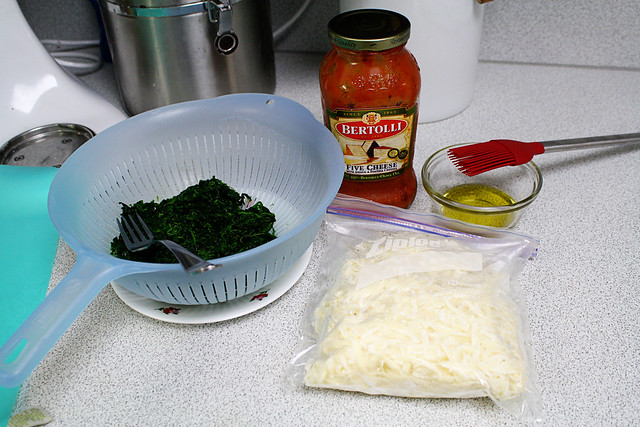
We love to put tomato slices and cooked spinach on our pizza!
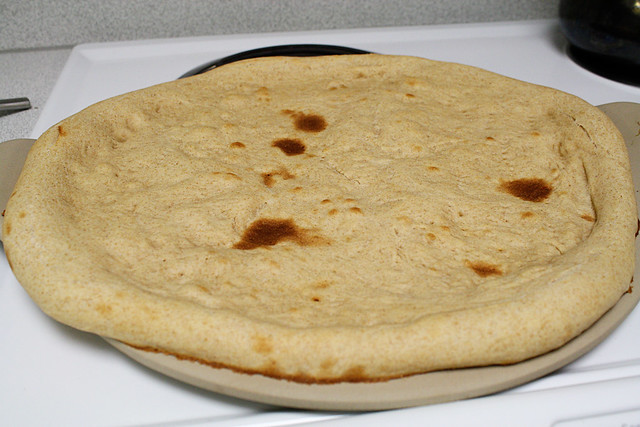
After 6-7 minutes in the oven, pull your crust out and brush the crust with olive oil. Then pile on your toppings of choice. No matter what our toppings, I typically also add some dried (or FRESH!) oregano.
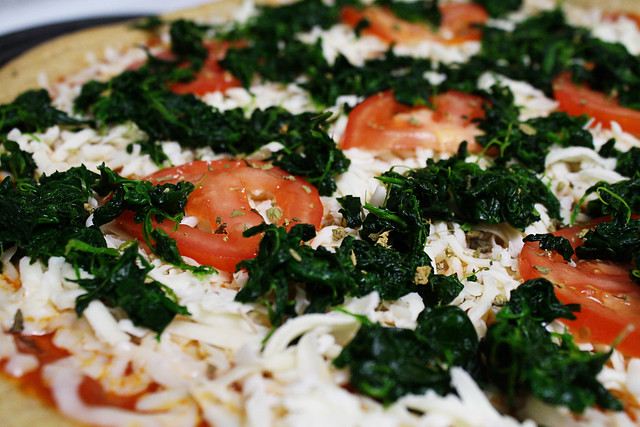
Then bake for an additional 6-7 minutes. Brush the crust with olive oil again, sprinkle with garlic salt, and this is your result:
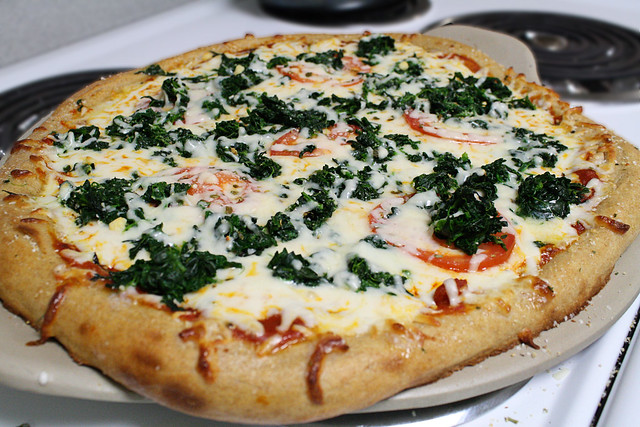
Your family will love you forever.
Pizza DoughAdapted from ButterYum's Recipe
Makes one 12-inch crust
1 cup all purpose flour
1/2 cup whole wheat flour
1 tsp. dry active yeast
1/2 tsp. salt
1 TBSP sugar
1 TBSP olive oil
1/2 cup plus 1 TBSP warm water (110-115 degrees).
Combine warm water, yeast, and sugar, and mix to dissolve. Mix together with dry ingredients and olive oil until just mixed together. Then knead (by hand on floured work surface or in stand-mixer with dough hook) for approximately 5 minutes. Place in oiled bowl and allow to rise until doubled in size (30-60 minutes). After rising, form crust by spreading it out with your fingers on an oiled mat or parchment paper. Dock the dough using a fork. Transfer to hot pizza pan and bake for 6-7 minutes at 475 degrees. Remove from oven, brush crust with olive oil and add toppings. Return to oven for an additional 6-7 minutes. When done, brush crust with olive oil and sprinkle with garlic salt.
**Printable Recipe**

Linked to Works for Me Wednesday, All Things Inspired, I'm Lovin' It, and Homemaking Link-Up.

Yummy! I make my own pizza, but I've never done a yeast dough before. I've always done flat dough. I'll have to give yeast dough a try, because I'm sure Jonathan will love it!
ReplyDeleteOkay, Alicia... I have a little drool coming out the corner of my mouth. So sorry...
ReplyDeleteThe shot of the spinach and tomatoes is so beautiful I think I want to hang it on my kitchen wall. Bliss. (Is it wrong to find bliss in spinach photos?)
I was going to do a lasagna tonight but I might have to make this instead...
Seriously... saliva leaking from my face....
Yum! That pizza looks SO good. We like to make homemade pizza, too, and I use a recipe from The America's Test Kitchen cookbook which makes a nice dough. :) Thanks for sharing!
ReplyDeleteCan you tell me how much yeast to use? I can't wait to try this recipe! Thanks!
ReplyDeleteMicheleC--So sorry I left that out and THANK YOU so much for catching it! Just fixed it. One batch calls for 1 tsp. dry active yeast. :)
ReplyDelete@GraceOneHundred: YES, spinach pictures are worth drooling over! :D
If any of ya'll give this a try, I would LOVE to know how it turned out for you! :D
Yumm spinach and tomato!
ReplyDelete'Find pizza dough recipe' is on the top of my to do list this week, thanks! Though, I'm intimidated by yeast I just might give this a try Friday night.
We love homemade pizza...usually BBQ chicken, but your spinach pizza is sounding great right now. It is just sooo much better than store bought and it is dirt cheap to make. Thanks for sharing!
ReplyDeleteThis looks so yummy! I make a homemade pizza that is very similar to yours, only I use a pesto sauce instead of a tomato sauce, and add black olives and creamy goat cheese. The goat cheese makes it a little more expensive, but well worth the cost in my opinion! And I agree that the homemade yeast crust is so good. After a few times making it, I can't go back to store bought crusts. You should see my Pampered Chef pizza stone; it is BLACK because I have used it so much, and is now a non-stick pizza stone!
ReplyDeleteI haven't made homemade pizza in awhile. The one time I made it, it was just okay. I'll have to try it this way.
ReplyDeleteThis looks mouthwatering!!!
ReplyDeleteYum! That looks divine. I found you from the Tidy Mom Linky. I adore all the contributions from crafty/clever ladies. If you've got a moment, please link up this gorgeous recipe over at Momtrends on our Friday Food Linky:
ReplyDeletehttp://www.momtrends.com/2011/04/healthy-dessert-recipe/
Looks wonderful!! Can't wait to try this one - thanks!!
ReplyDeleteOooh yummy yummy yummy! I also love to make homemade pizza but mine is very different from this! I will have to try this out! Thanks for sharing...I am SO hungry now :)
ReplyDeleteJami @Intentionally Living
Wow everything about this pizza looks scrumptious
ReplyDeleteThank you for blessing our family with this excellent pizza recipe. Especially the crust! We had been on a mission to find a great, tasty, crispy crust. The mission stops here. God bless you, Alicia!!! :D
ReplyDeleteDana Tock ~ Sparta, WI
This crust is perfect! I had to add a little more flour to the dough while in the stand mixer because it was too sticky and wasn't forming, but the dough still maintained its soft interior and crusty shell. i used a homemade chunky tomato sauce and fresh mozzerella with pepperoni. I love the addition of the garlic salt on the crust. thanks for the great recipe
ReplyDeleteHI, I've never made my own pizza but since I moved into my 1st apartment, I thought I'd try homemade stuff. This is a lot of pizza for just me, so is there a way to divide the dough and freeze it? I would rather freeze before I cooked it if possible. If so, would you cut in quarters like? can you microwave it? I have an aluminum round pan, will that work? Sorry for all the Qs, just learning, lol. Thank you,
ReplyDelete